
ESP32-C3 SuperMini
The compact Wi-Fi microcontroller that runs the firmware, connects to MQTT, and controls the display and inputs.
Build a device
See how the Notificator early-access devices combine an ESP32-C3, an OLED display, open-source firmware, and a 3D-printed enclosure.
 Early-access builds
 Inside the enclosure
The reference build uses widely available maker components. Check the firmware repository before ordering parts because the hardware target may evolve.
The compact Wi-Fi microcontroller that runs the firmware, connects to MQTT, and controls the display and inputs.
A small monochrome I²C screen at address 0x3C for alerts, status information, the clock, and device menus.
Adds capacitive gestures for moving through messages, changing their read state, and opening device information.
Wiring, headers, and a suitable low-voltage USB power connection complete the electronics. The capacitive sensor is the reference build’s only user input.
Reference wiring
Board layouts can differ, even when two modules use the same ESP32-C3 family. Match the GPIO labels in the firmware and repository documentation rather than relying only on a product photo.
Open the complete wiring guide ↗PLA enclosure
Bambu Lab A1 mini + AMS lite3D printing
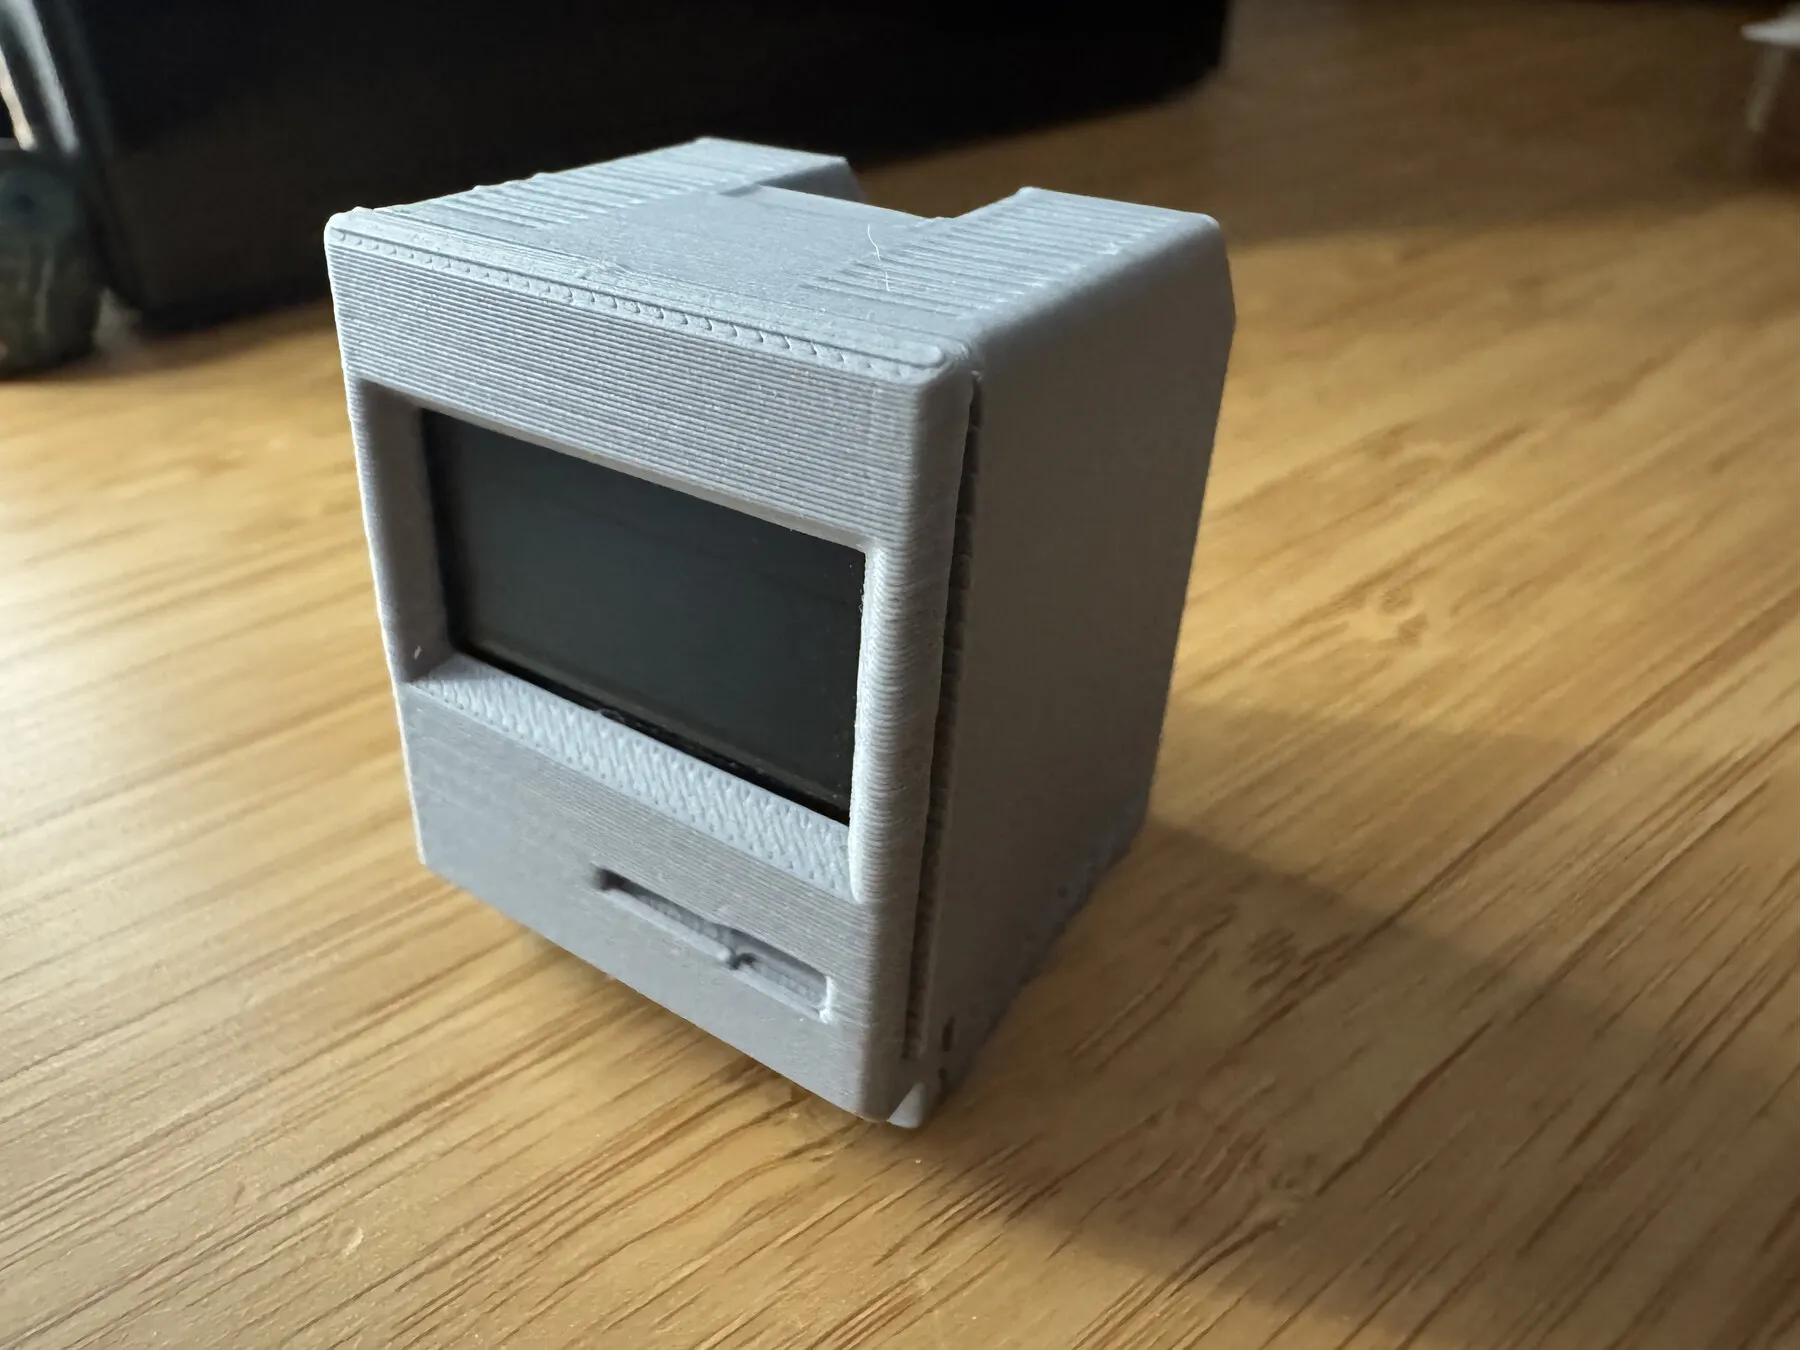
We printed the sample devices in PLA. The compact Bambu Lab A1 mini and AMS lite made it easier to prepare colour variants and repeat small community batches, while careful orientation and test fitting helped reduce failed prints and wasted filament.
PLA is commonly produced from renewable plant-based feedstocks and is often described as biodegradable. In practice, it usually needs controlled industrial composting conditions and should not be expected to break down quickly in home compost or landfill. Using only the material needed, avoiding failed prints, and following local disposal guidance matter more than the label alone.
Why 3D printing feels different
For a project like Notificator, 3D printing closes the gap between software and the physical world. It makes custom enclosures, fast experiments, and small production runs practical without specialist manufacturing equipment.
A slicer turns a 3D model into the layers and toolpaths the printer follows. Modern printers automate much of the calibration that once made the first print intimidating.
Print a part, test the fit, adjust the model or settings, and try again. That short feedback loop is ideal for microcontroller enclosures.
There is no mould or factory minimum. A single replacement part, a new colour, or a community batch can all use the same workflow.
Colour, texture, shape, and small design details can turn exposed electronics into an object that feels at home on a desk.
Build path
Prepare the enclosure parts for your printer and filament. Our samples were produced in PLA on a Bambu Lab A1 mini with AMS lite for efficient colour changes.
Connect the OLED and capacitive touch sensor to the documented GPIO pins. Test the electronics before placing them inside the enclosure.
Flash the matching firmware with the browser installer, then use the local setup portal to provide its network configuration.
Add the compatible device to your Notificator account and send selected website events to it through MQTT.
Community batches
Early Notificator devices were assembled as small community batches and given away for free. We used cardboard packaging and selected greener courier options where available to reduce the impact of getting each device to its new home.
If building your own is not practical, follow the project. We plan to make more ready-to-use devices and send them free of charge to randomly selected people in the community. Batch sizes will be limited, and future opportunities will be announced through project updates.
Where the pieces came together
The Notificator project was introduced publicly in the talk “WordPress & WooCommerce Notifications: Bridging the Web with the Real World.” The presentation connected WordPress events, APIs, MQTT, mobile apps, IoT devices, and 3D printing into one practical notification system.
Coming to MakerWorld
We plan to publish a MakerWorld collection that brings together 3D models suitable for Notificator builds. It will make it easier to discover compatible enclosure ideas, explore different styles, and choose a design that suits your hardware and printer.
Every linked model will remain the work of its respective designer and subject to its own license. The collection will point builders to the original model pages rather than redistribute third-party files.
Explore MakerWorld ↗Know the licenses
The Notificator firmware is available under the Apache License 2.0. The enclosure shown here is based on the TinyTosh Mini Retro PC by Uladzimir Hitsarau and has separate MakerWorld Standard Digital File License terms. Notificator does not redistribute the model files.
Before you build
The early-access reference is not a certified consumer product or a complete beginner kit. Work with low-voltage USB power, verify every connection before powering the board, avoid exposed conductors, and supervise printed parts and electronics around heat, children, and pets.